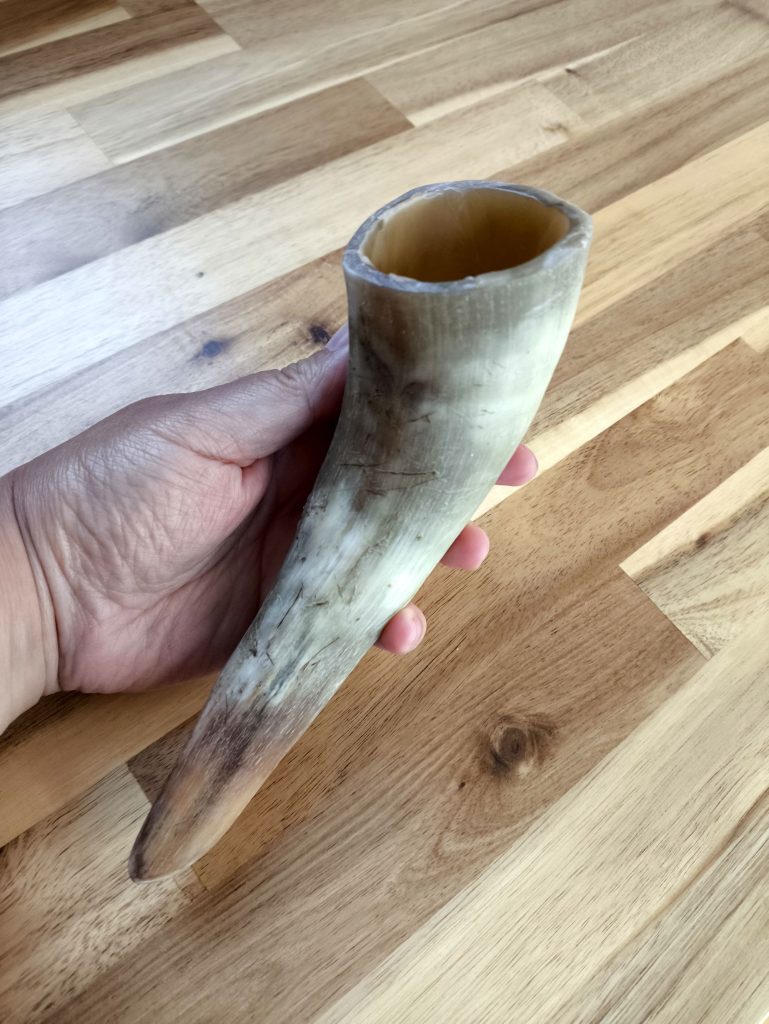
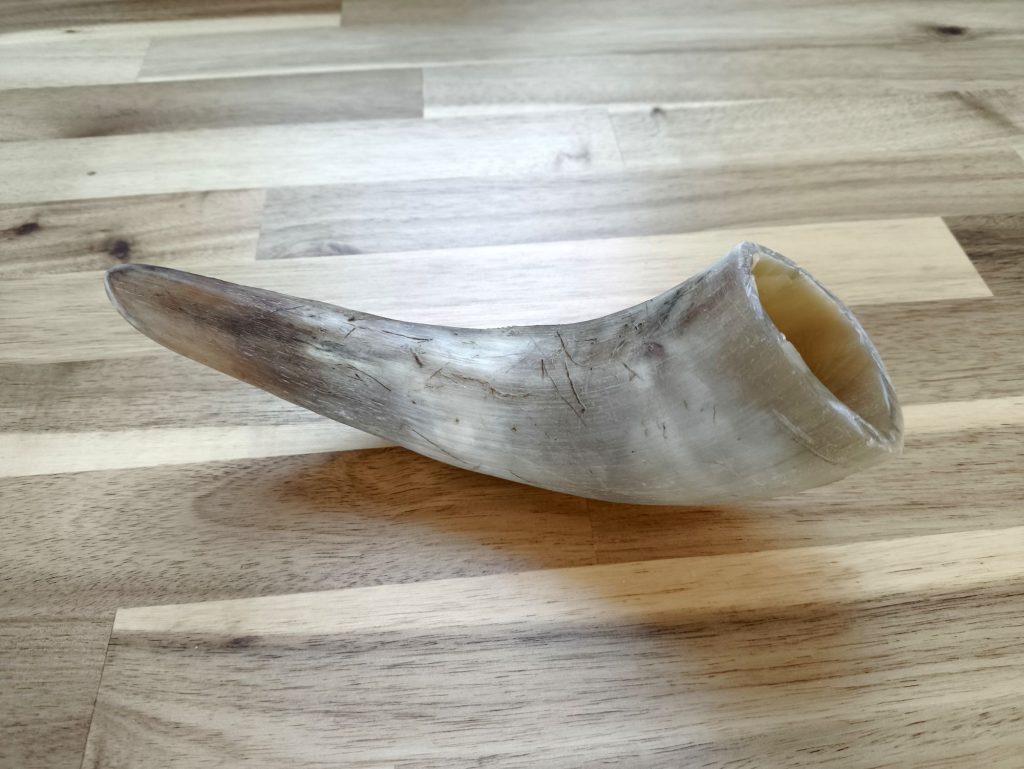
I got given two cow horns (thank you Will!) to make a drinking horn. The cow’s horn still had the horn marrow inside them, so basically, the cut horns have not been processed.
By the time I got the horn, I couldn’t start to use them for making a viking drinking horn. So I froze them inside my freeze to prevent them rotting. They have been cut already few days ago, so while I wasn’t worried about the horn itself, the horn morrow is still organic matter that will decompose eventually. The day after freezing them, I started the process to make a viking drinking horn from scratch using a cow’s horn as per a tutoriel from AleHorn.
1- Boiling the cow horn to remove the horn marrow
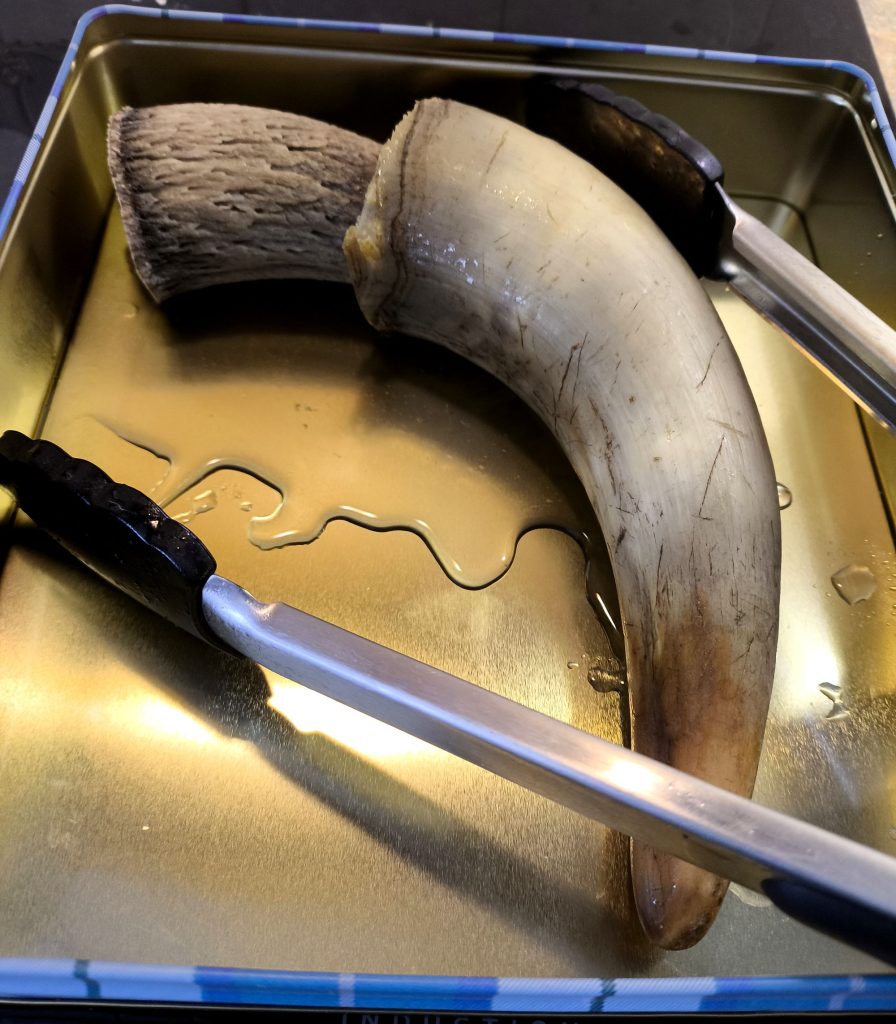
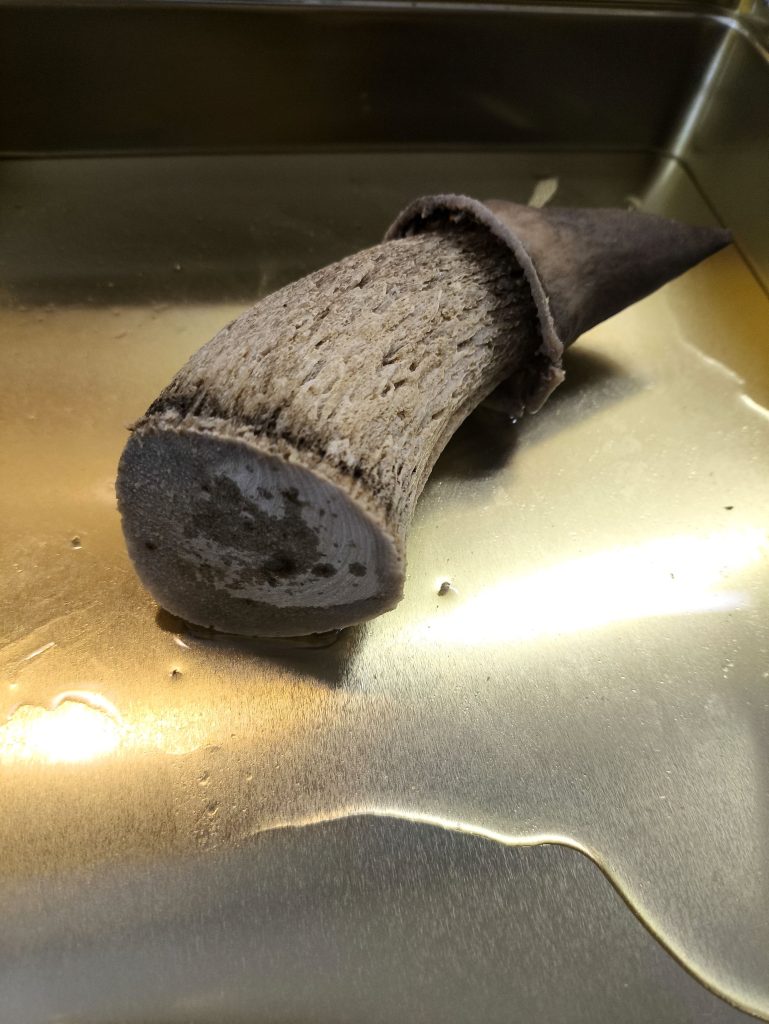
The first step is to get the horn marrow out. I got lucky because it was a very easy step for me as I only needed to boil the cow’s horn in water for couple of hours and the horn marrow got dislodged easily from the horn.
2 – Cleaning the horn
[#ads: All Amazon affiliation links in this article are items I really bought, have, and/or used].
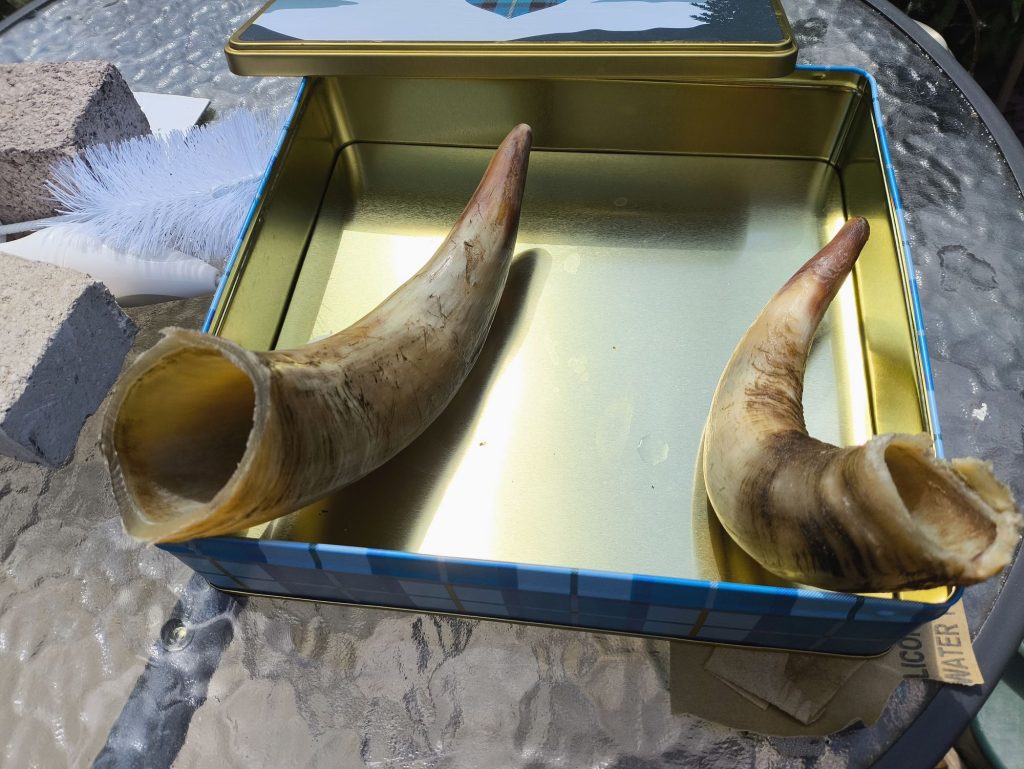
Straight forward step, cleaning the inside and outside with a brush and soapy water. I realised I only had one brush at home for the dishes, which I didn’t want to use for the horn, and wasn’t adapted for it neither. So I bought cheap baby bottle brushes and they worked perfectly for this purpose. I then let them dried outdoor in the garden under a hot weather with direct sunlight.
3 – Sawing the horn top to make it even
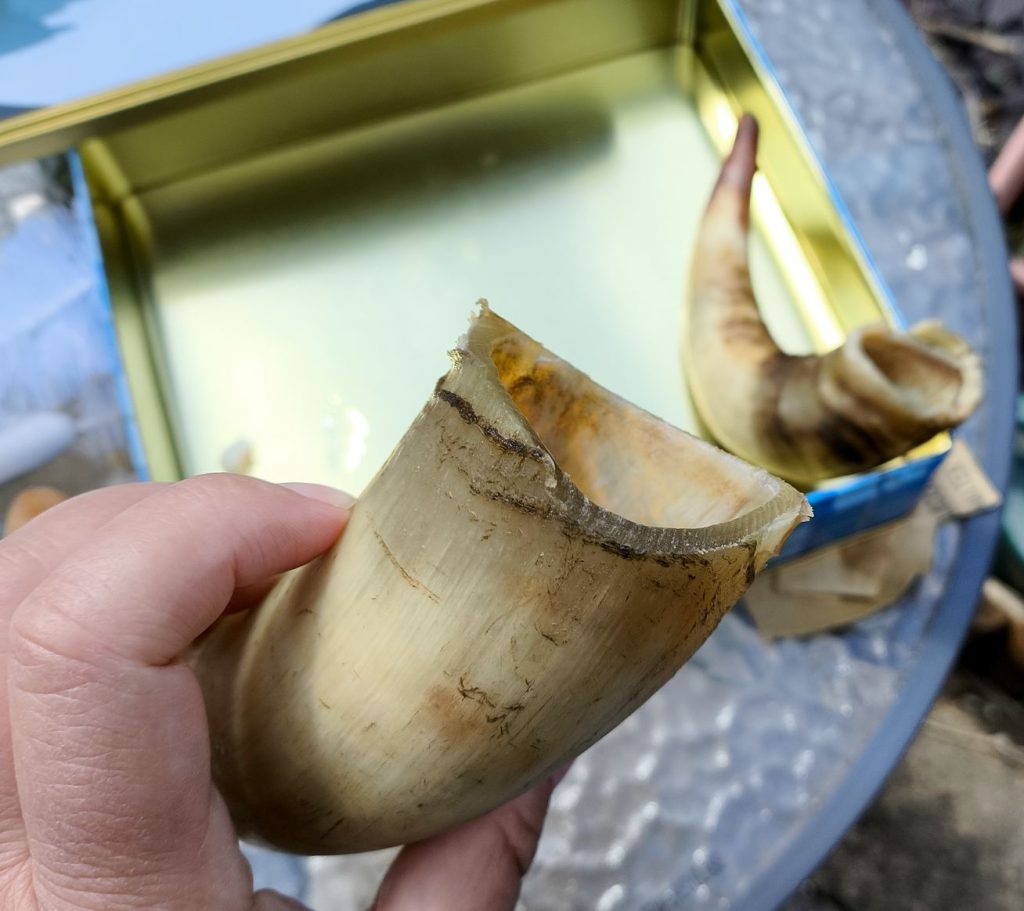
The top of the horn, where the opening is, was not even, so I bought a cheap junior hack saw and my partner saw it. The small horn was used as a test trial, and the sawing was very easy and fast. It was a bit more difficult with the bigger horn, because I didn’t bought spare blades so the blade must have became dull. It was possible with this cheap hack saw, but if in the futur I am doing more horn work, I will buy a bigger saw and not forgetting to buy extra blades.
4 – Sanding and smoothing the horn
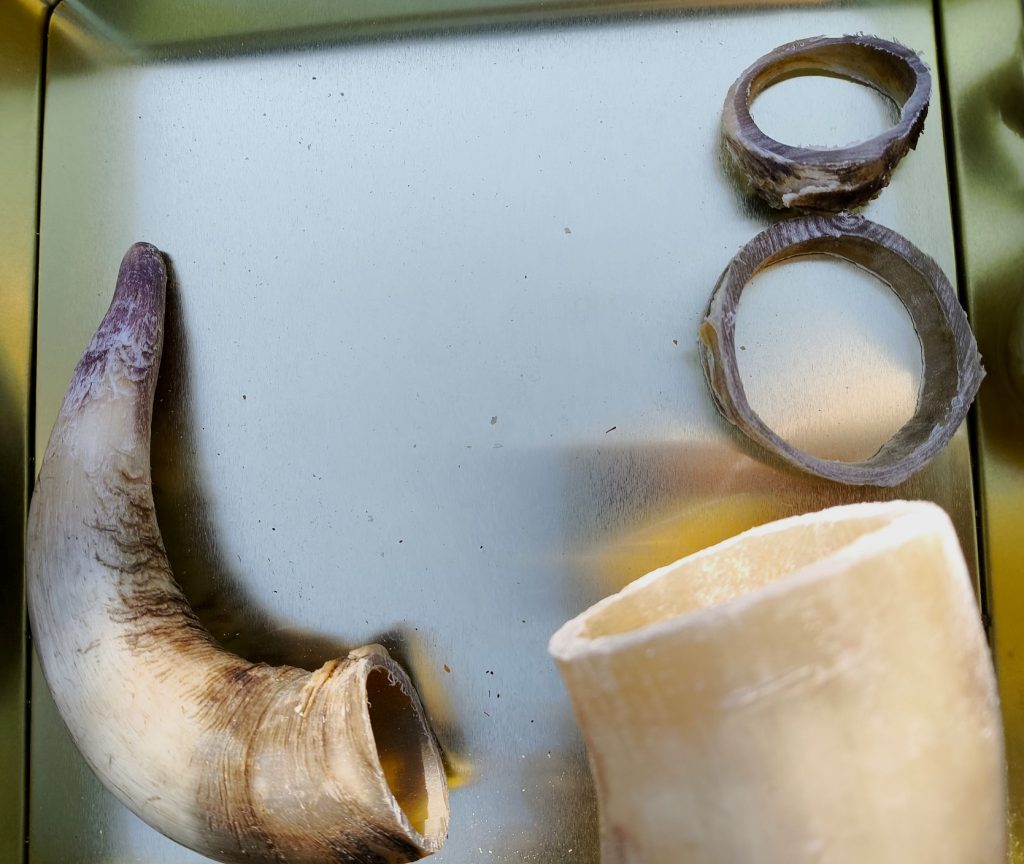
I only sanded the big horn, so the picture of the small horn below are not sanded. I used coarse sand papers to sand around the opening of the big horn. I then used a small Dremel to sand a little bit at the area where the saw cut joined on the horn, so it did let a little dent. Finally I continued with a finer sand paper to make it smoother. As I dried and wet sanded the opening of the horn, and also rinsed it under water to remove all residual horn dust, I let the horn sun-dried again.
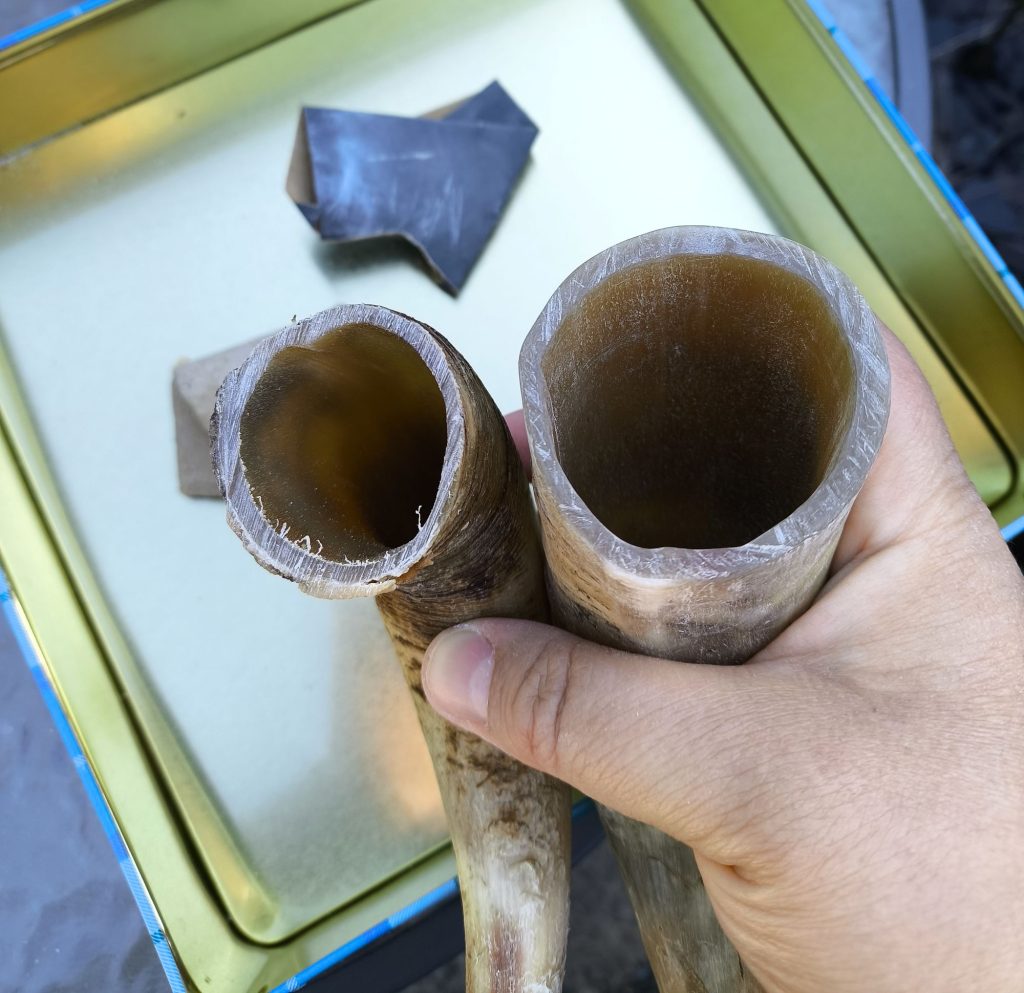
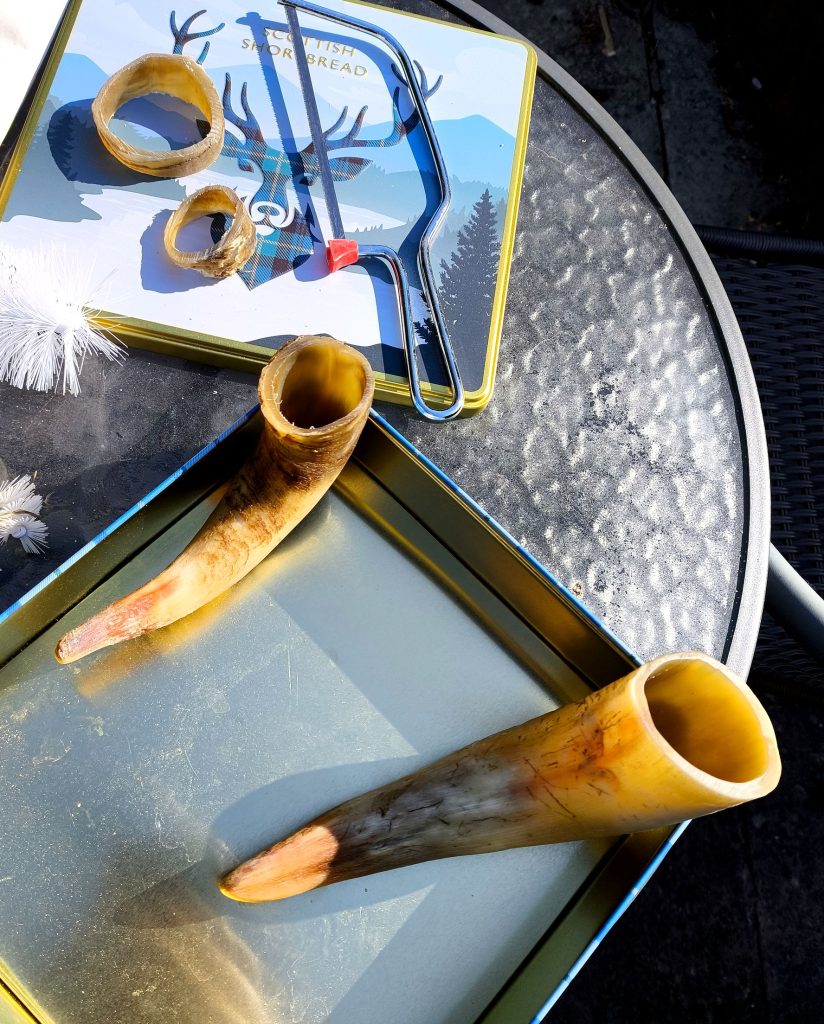
I could have send the outside of the horn and polish it so it become smooth and shiny, but I actually like the idea to have the raw horn, it shows that it is a real horn that belonged to a cow, so it will have imperfections, and various marks on the horn. This is also why I have not decorated the horn or carved the outside of the horn with viking runes, patterns, or such.
5 – Sealing the inside of the horn with beewax
AleHorn propose different methods to treat and seal the inside of the horn. I decided to beeswax the horn, as I already had some beeswax for my leatherwork. I melted two beeswax bars in a bain marie (also called double boiler method). While the beeswax was melting, I put my big horn in a bowl full of boiling water. I then poured the melted wax inside the horn, swirled a bit and poured it out. I did that couple of time to make sure all the inside of the horn was coated with beeswax. I did the coating a bit too think, never mind, next time I will do it thinner.
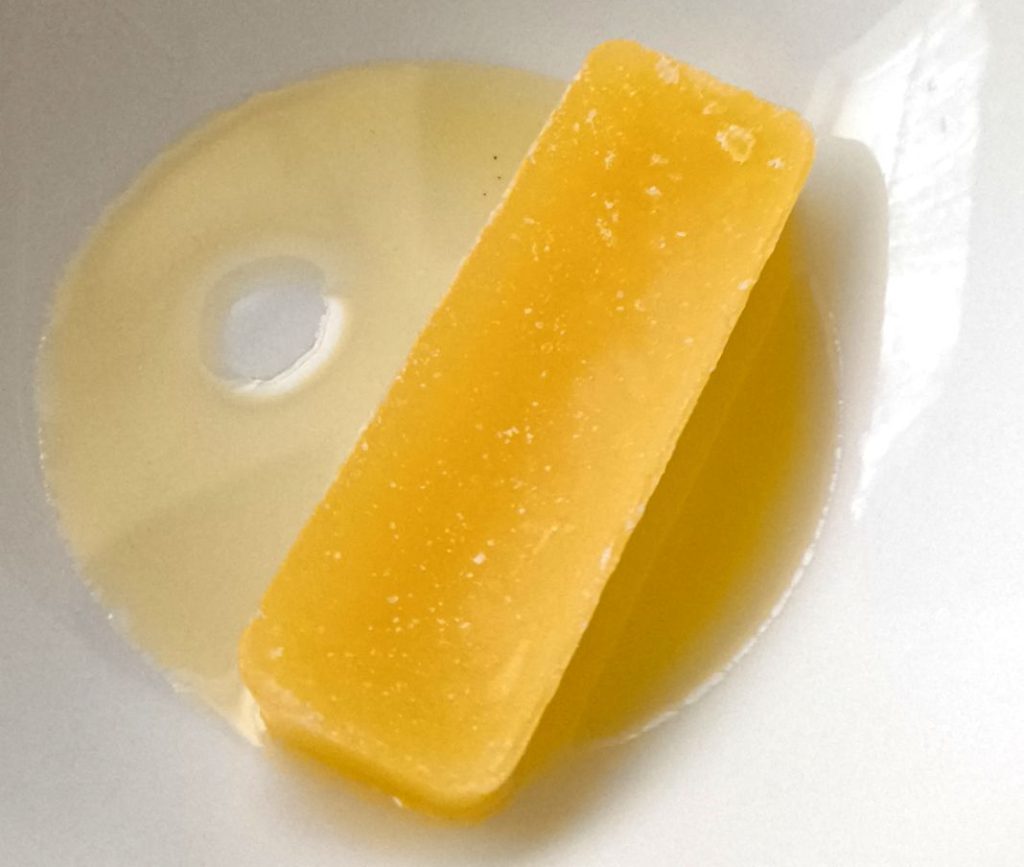
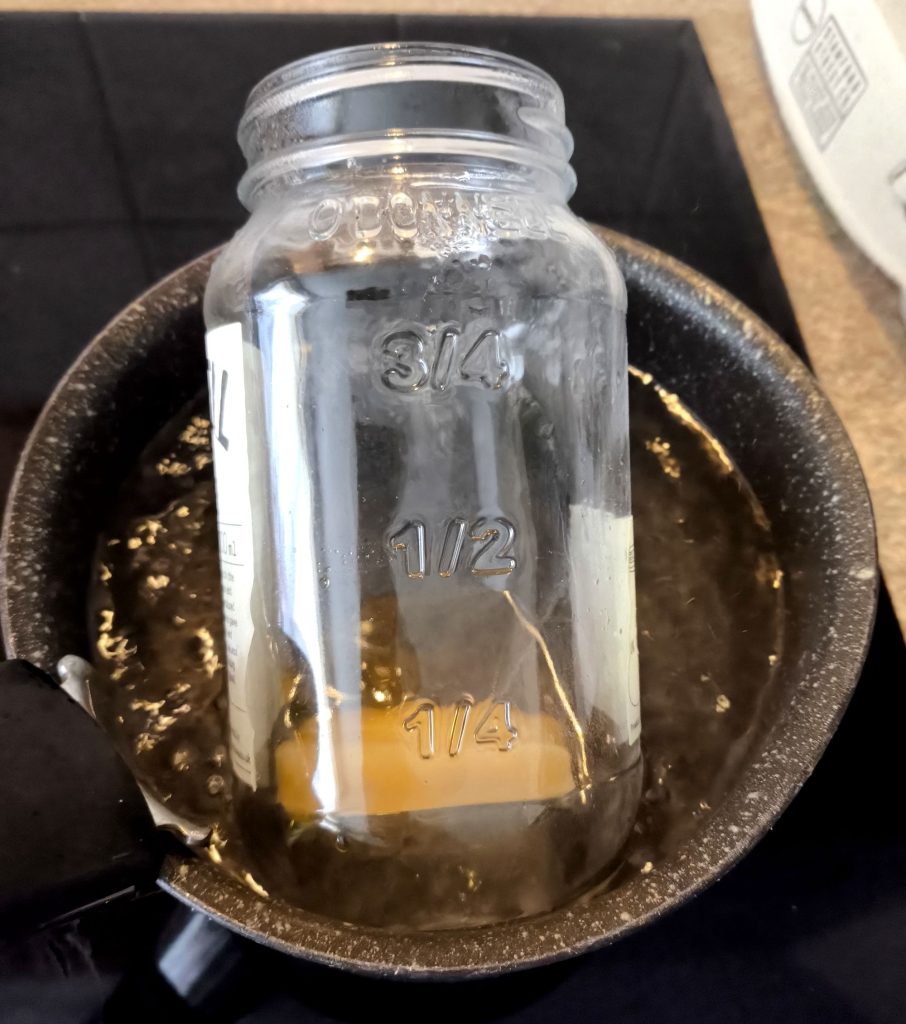
I let the beeswax coated horn hardening in the very convenient polystyrene protection of the scanner Epson Perfection V39 II, I just bought, it is an excellent scanner as I have started to scan my watercolour painting (not yet posted the blog, but I will do it soon).
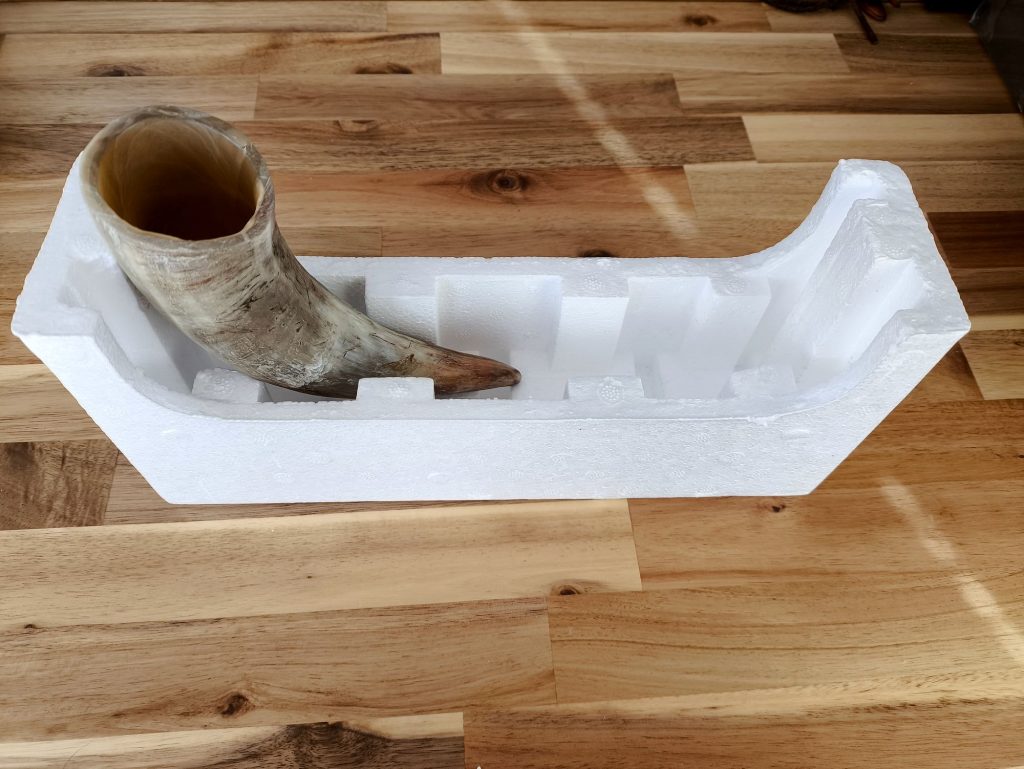
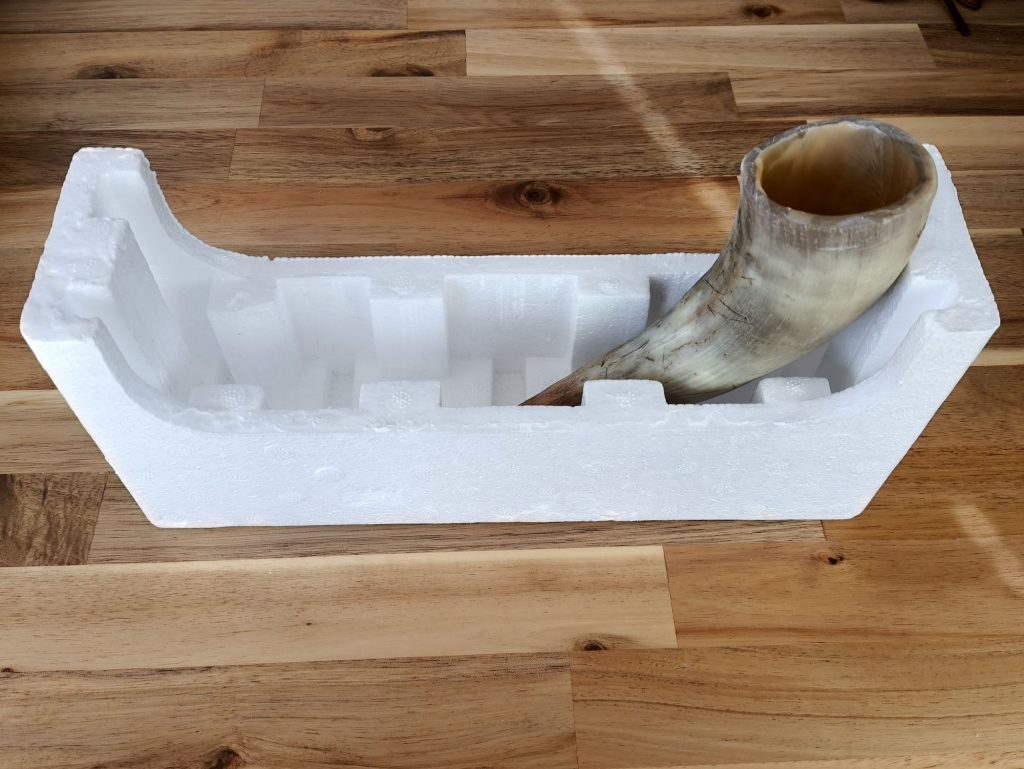
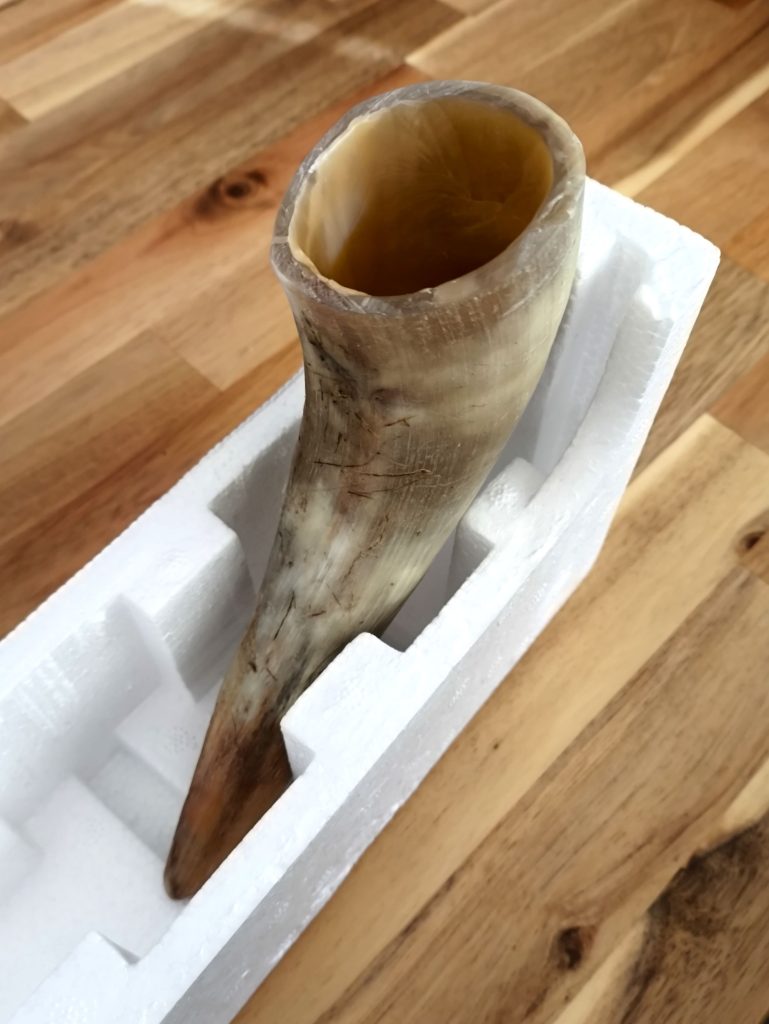
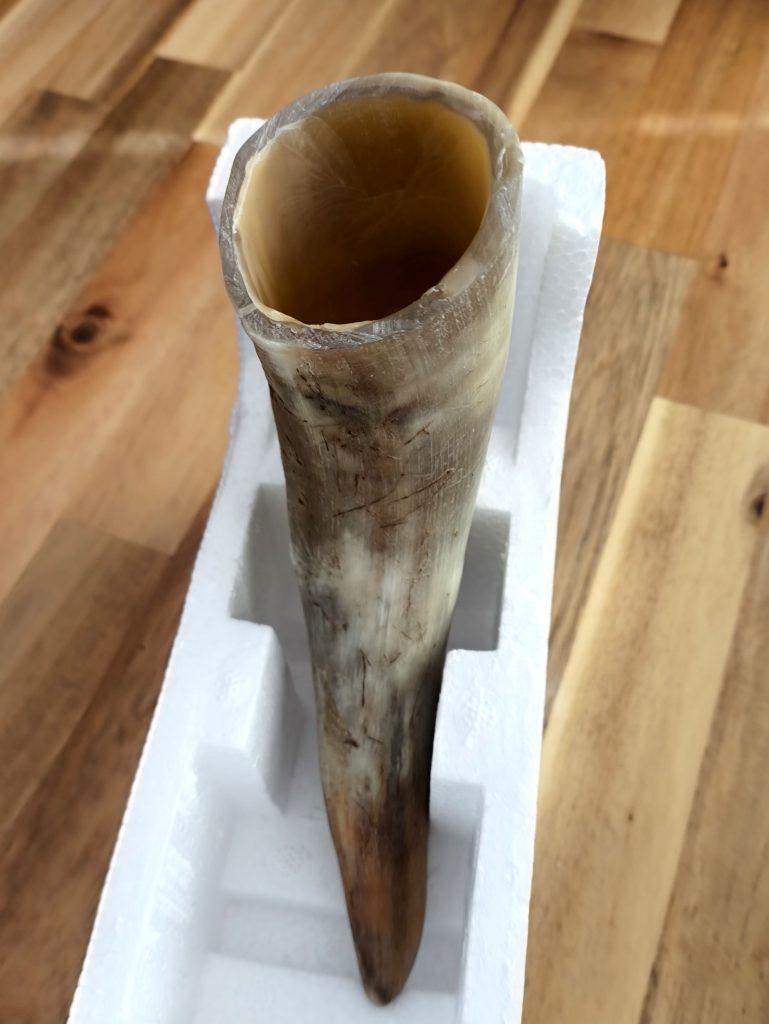
I just need to clean up the excess of beeswax on the top of the horn but otherwise, it is finish! I have a made a viking drinking horn from scratch with the horn of a cow!
